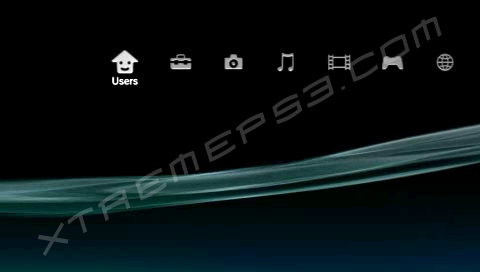
Need help installing and applying XMB themes on your PlayStation? Then check out the video below. All you need is a USB flash drive or Memory Card and some themes.
Read MoreNeed help installing and applying XMB themes on your PlayStation? Then check out the video below. All you need is a USB flash drive or Memory Card and some themes.
Read More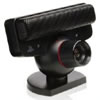
Did you know that using remote start you can use your PlayStation 3 and a PSP to set up a 1-room surveillance device? If you are curious as to what happens in your room when you are out, here is a clever little trick to make use of your PS3 and PSP to “spy” on your room when you are away from home. Here is what you will need:
Before you begin, make sure you have all of the above. Your PS3 needs to have firmware 2.00 or higher or Remote Start will not work. Your PSP needs firmware 3.72 or higher or you will not be able to turn on or off your PS3 via the Internet. A PlayStation Eye or Eye Toy is required to act as a camera. It is recommended that you have the PlayStation Eye since the video quality will be better and also you will be able to listen to what is going on.
Preparation:
Please complete the following tasks before continuing:
Instructions:
We suggest you use this tutorial appropriately, which means no spying on naked girls!
To create a XMB theme for your PlayStation 3, you will need the XMB Theme Creator program. Unzip the contents of the zip package to your hard drive and you are ready to begin. A sample theme can be found in folder "/sample/01". You can compile this into a theme using the below instructions.
Creating your own theme requires several hours of work depending on how much you wish to customize the theme. The easiest way to customize a theme is by modifying the images in the "sample/01" directory. The "sample.xml" file can be modified to change the theme name, font, theme colour and icon names. See the below example on how to modify the XML file.
<infotable>
	<info
		name="theme name"
		icon="icon.png"
		url="author website"
		author="author name"
		authoricon="authoricon.png"
		genre="genre information"
		version="version information"
		comment="comment on theme"
		preview="preview.png"
	/>
	<localizedinfo
		locale="en"
		name="theme name"
	/>
	<localizedinfo
		locale="jp"
		name="theme name"
		comment="comment on theme"
	/>
</infotable>

<font selection="font number {1, 2 or 3}" />

<color selection="color number {1 to 12}" />
You should only change the information shown in green. The icons should not be modified unless you have modified the file names of the images. Also, the locale should not be changes. This information is used to display the theme name in different regions, namely English and Japanese, which is denoted by "en" and "jp" respectively.
The remainder of the XML file should also not be modified unless the icon file names have been modified. The easiest way to modify a theme is to edit the images and the "<infotable>" part of the XML file only. Once you have modified icons and/or the XML file, you must recompile the theme file.
Ripping Blu-Ray discs and other discs is easy using your PlayStation 3 console. But before you can begin, you will require the following:
In this guide, we use Yellow Dog Linux to show how to rip blu-ray discs using your PlayStation 3. Follow the below instructions to the letter in order to successfully rip a disc.

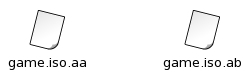
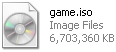
Once ripped, you can test the ISO files by removing the suffix (e.g. .aa) so that it becomes a ISO file. The ISO images can be opened up using File Roller. Depending on the size of the disc, the ISO image may be split into several parts. This is because there is a file size limit on the FAT file system. To recombine the files into one ISO, it is best to use a Windows XP PC with a NTFS formatted drive. You can use the command line:
copy /b game.iso.* game.iso

US:
EUR:
ASIA:
Notes:
Not all PKG files will work. This method is know to work on all firmware versions that have the Folding@Home icon. File types other thank PKG file cannot be used by this method. If you try to download a video or music file using this method, you will get an installation error.


Frequently Asked Questions:
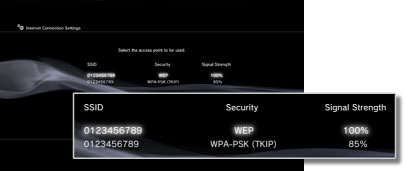
Does the PlayStation 3 have built-in wireless?
All the latest PlayStation 3 models have built-in wireless. The discontinued 20GB PS3s are the only models without Wireless.
What is faster, wired or wireless?
In most cases, wired connections are much faster than wireless. If at all possible, we recommend using a wired connection for best performance.
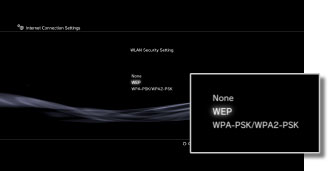
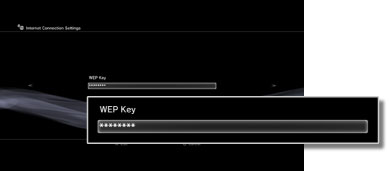
What is a WEP/WPA key?
Most wireless networks have some sort of security to protect unauthorized access. This is in the form of a WEP or WPA key. Please see the WEP and WPA Wikipedia articles for more information.
How do I find my WEP/WPA key?
Your Wi-Fi access key can usually be found on your wireless router or related documents. You can also check your wireless administration control panel (please see your router manual for information on how to access this). At last resort, you can contact your ISP (Internet Service Provider) for help.
Instructions:
Video Tutorial:
If you need additional help setting up a Wireless connection, see the video below, which demonstrated the above steps.

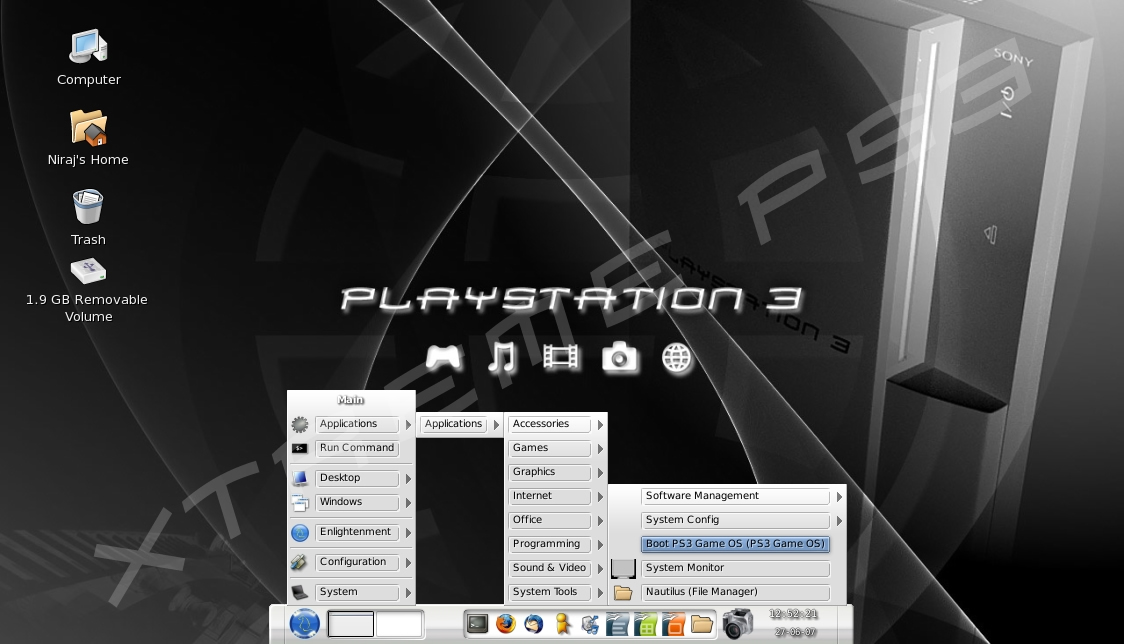
On some versions of Yellow Dog Linux (for PS3), the “boot-game-os” command line gives you an error similar to “/sbin/other-os-flash-util: No such file or directory”, which prevents you from getting back to the PS3 XMB. Below is a simple, step-by-step guide on how to fix the error.
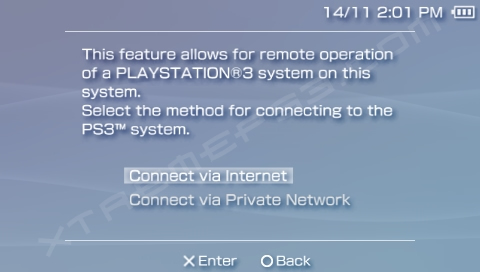
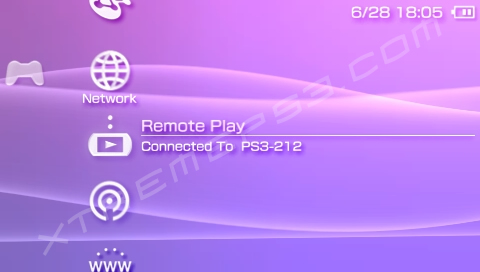
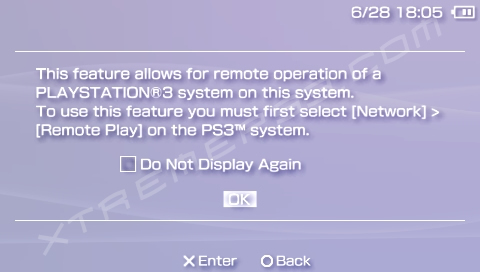
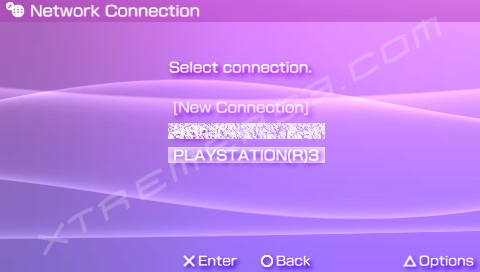
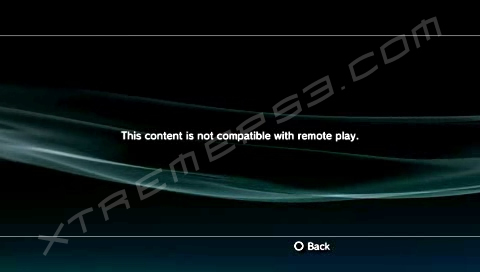
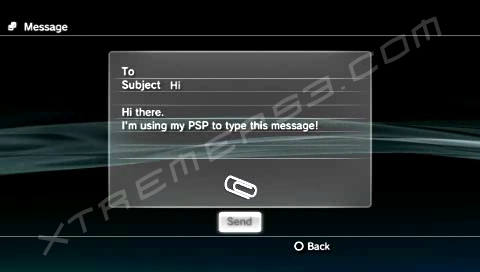
Remote Play on the PS3 is a very hand feature. Currently, Remote Play is only supported between the PS3 and PSP. See below for instructions on how to configure your PS3 and PSP to utilize remote play.
To connect your PS3 and PSP together:
Occasionally, the PSP fails to connect to the PS3. If this happens, simply try again and check that the PS3 is in Remote Play mode. Only one PSP can access Remote Play mode at any time, so you cannot control the PS3 using two PSPs at the same time. Ensure that only one PSP is connected to the PS3, since trying to connect on a second PSP will cause a connection error.
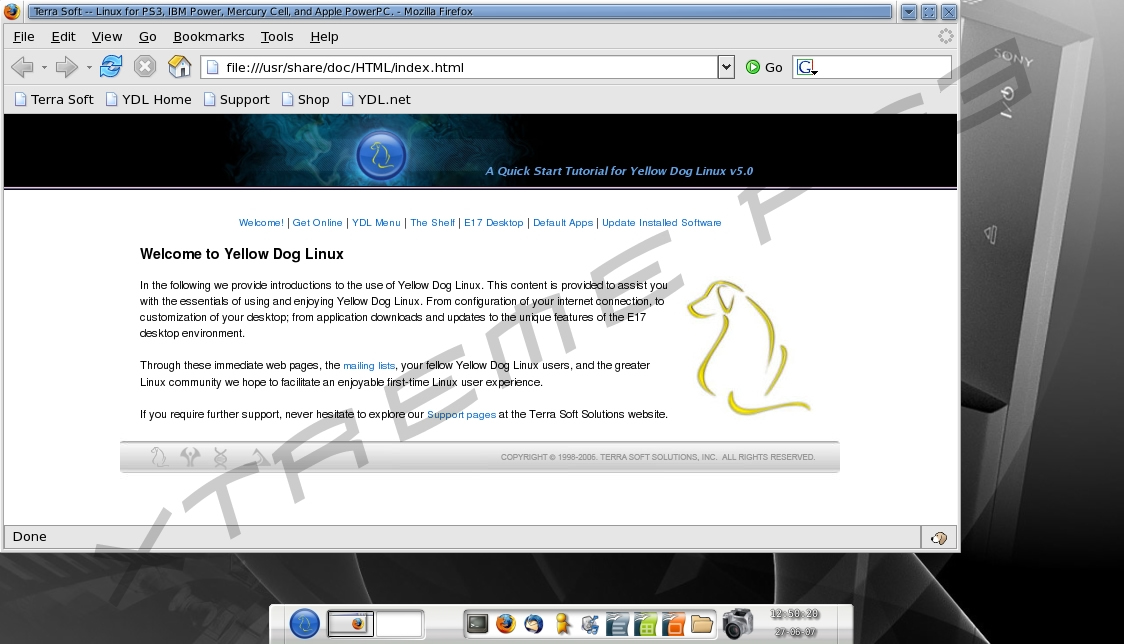
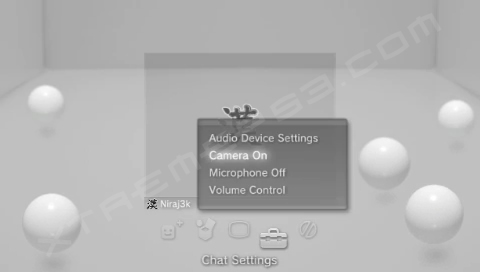
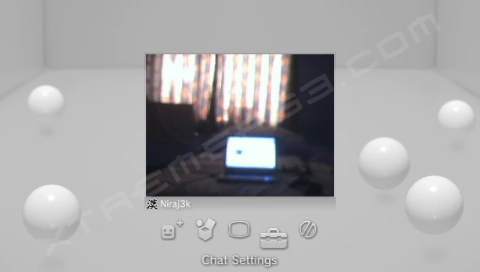
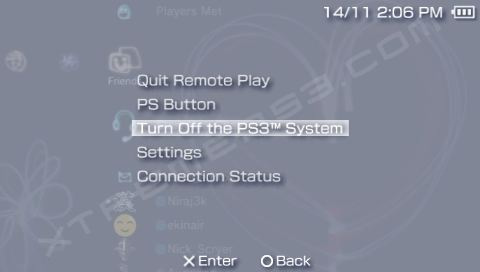
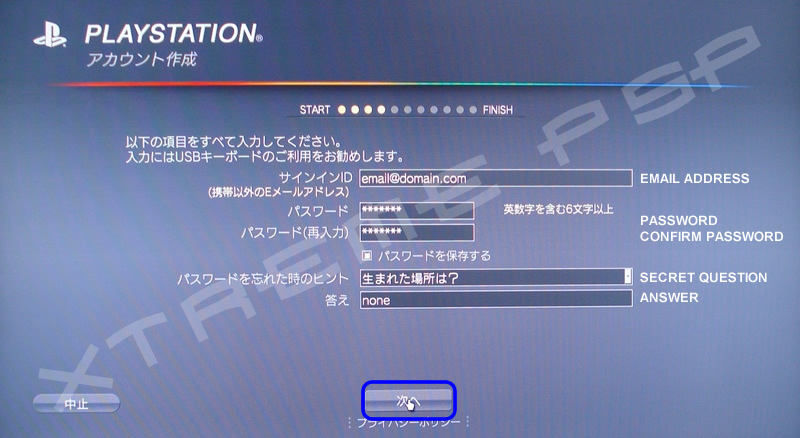
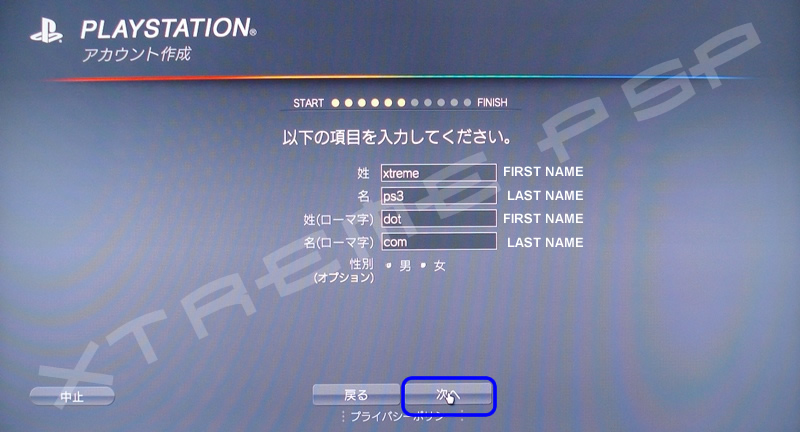
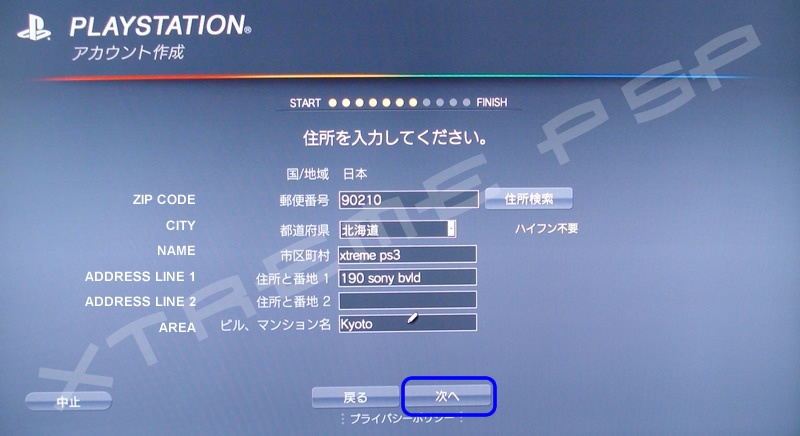
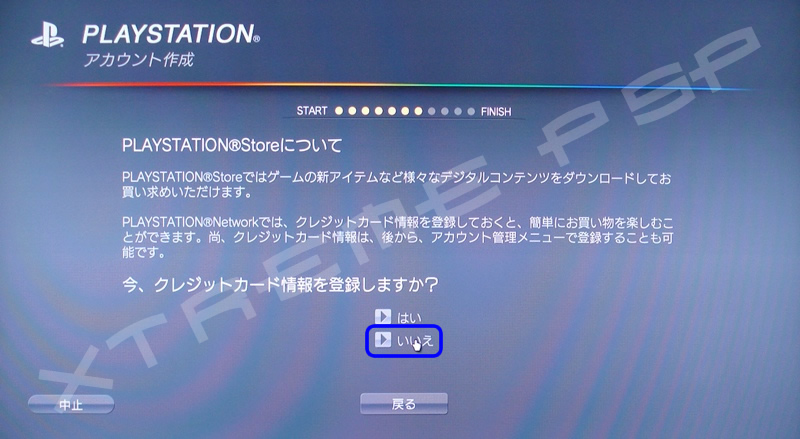
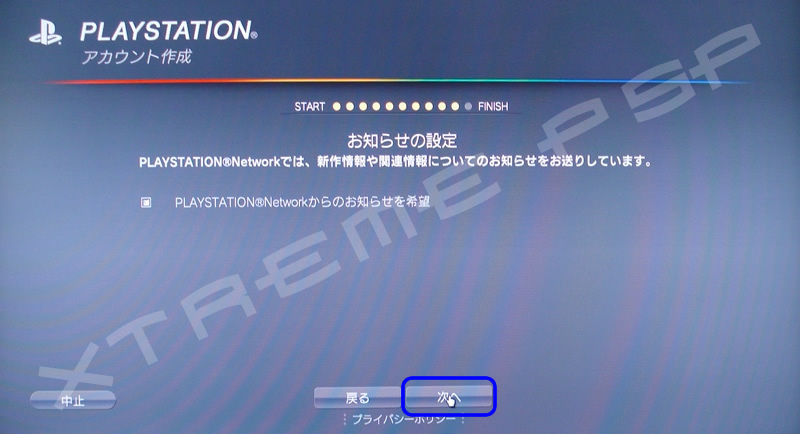
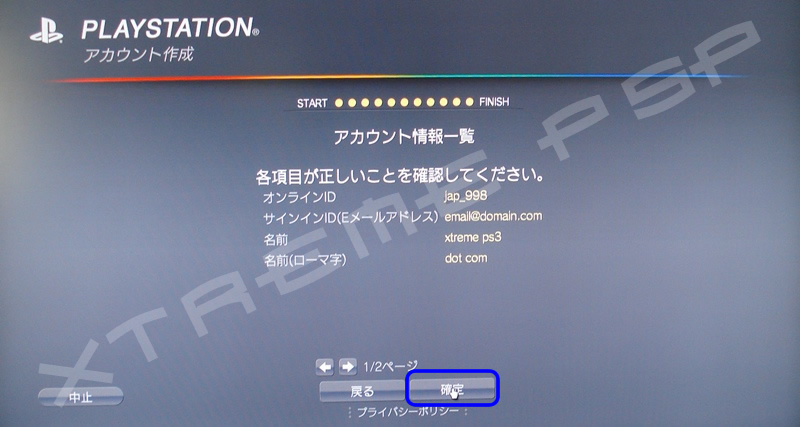
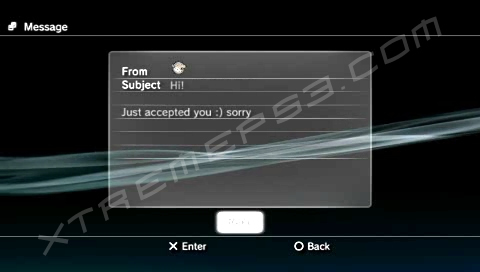
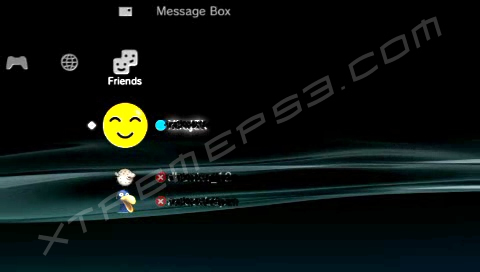
Screenshots

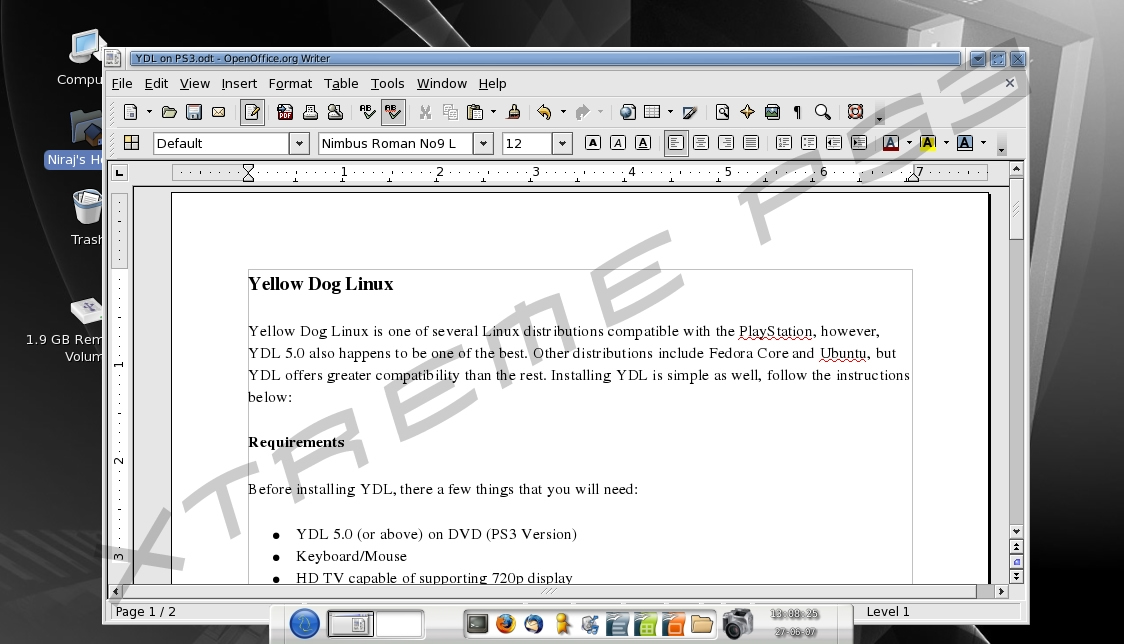
Yellow Dog Linux is one of several Linux distributions compatible with the PlayStation, however, YDL 5.0 also happens to be one of the best. Other distributions include Fedora Core and Ubuntu, but YDL offers greater compatibility than the rest. Installing YDL is simple as well, follow the instructions below:
Requirements
Before installing YDL, there a few things that you will need:
Pre-Installation
Before you can begin to install YDL, your PS3 system needs to be setup. There are three steps that need to be preformed before you can begin installation: Partitioning the hard disk, Installing the OtherOS loader and changing the default boot setting. Each stage is broken down.
Partitioning
Install Other OS
Set the Default Boot to Other OS
Before changing the default boot setting, it is important that you are using a HDTV supporting 720i resolution, since YDL uses 720i. Please also make sure that the YDL DVD is inserted into the PS3 since it will be needed when you reboot the PS3.
Installing Linux
If the Other OS files were installed correctly, you should see a bunch of text appear on the screen. This means that everything is working. YDL should start installing soon after and the process is relatively simple. YDL uses a graphical interface to install Linux onto your PS3, so all you need to do is follow the instructions. The installation process takes over an hour. Once YDL has been installed, the disc should automatically eject and all you need to do then is to reboot into Linux.

Screenshots