We hope all of caught the Sony Press Conference earlier today at E3 via the live feed. If you were unlucky enough to miss it, then we have a fully breakdown of what the conference covered. Sony made a number of announcements including the new PSP model and features, new PSN titles, details of PlayStation Home and future games.
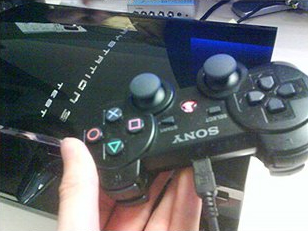
New PSP Model
The new PSP, available later this year will
33% lighter than the current PSP model and 19% slimmer. Battery is better and games loading speeds have been improved. The new model also allows you to output high-quality video to a TV, using a video out cable. The DISPLAY button will allow you to switch between using the PSP TFT and TV for display. The PSP controls can be used as normal with the TV display. The video out connection can be used with any content, e.g. games, photos and videos etc.
The new PSP model will be available in Piano Black, as well as two additional colours (available in North America only): Ice Silver and limited edition White PSP with Darth Vader.The Ice Silver and limited edition white PSP will be available as entertainment packs. The Ice Silver model will be bundled with Daxter and a 1GB Memory Stick Duo, while the White model will be bundled with Star Wars Battlefront: Renegade Squadron plus the 1GB Memory Stick Duo. All three models will retail for $199.99, and the current model will drop down to a RRP of $169.99.
A firmware update will allow you to use the PS3 DLNA features to access your PC’s content on the go via the PSP.
PlayStation Network
Sony states that more than 80 PlayStation Network titles are currently in development and are expected for release before March 2008. Some of the games features at the press conference include:
- EchoChrome (also available for the PSP via UMD)
- Wipeout HD (available on both Blu-Ray and via PSN, will feature full 1080p HD resolution and will include online multiplayer)
- PAIN (available on both Blu-Ray and via PSN)
- Warhark (available on both Blu-Ray and via PSN, will feature online multiplayer and 4-way split screen)
- SOCOM: Confrontation (available on both Blu-Ray and via PSN)
PlayStation Home
Sony announced that the Home client is now running on a mobile phone, however, 3D play will only available on PS3. A new square will replace the current lounge, allowing easy expansion. When Home is released, everyone will get their own free space, with additional space available to purchase as well as customization.
You will be able to send images from your phone to your Home Space, and you will be able to take photos from inside home and post them online, for example on on blogs and personal websites. In addition, Home will allow live blogging of your online activities.
You will allow you to launch any game on the PS3 from within Home, whether it is single-player or multiplayer, and regardless of whether is stored on your hard disk or on Blu-Ray. This feature was demonstrated using MotorStorm featuring a new new map, which will be available for download next month, via PSN.
Publishers will be able to create their own lounges for their games, so players can have a place to meet and discuss games. The Home Open Beta will launch this fall.
Third Party Games and PS3 Exclusives
Sony announced that NCSoft will be joining the PS3 development scene. They will be creating online games exclusive for the PS3 for download via PSN. Ubisoft will be bringing a Haze to the PS3 as a exclusive (a new trailer with gameplay was revealed). Unreal Tournament is also coming to PS3 as a exclusive. Sony is working with Epic to modify the Unreal engine for the PS3, and will be available this November.
Other 3rd Party PS3 Games
- Call of Duty 4: Modern Warfare
- Assassins Creed
- Kane and Lynch: Dead Man
- Resident Evil 5
- Burnout: Paradise
- Madden NFL 2008
- Harry Potter and the Order of the Phoenix
- The Simpsons Game
- Guitar Hero 3: Legend of Rock
- Medal of Honor: Airborne
- Rock Band
- Metal Gear Solid 4 (PS3 Exclusive)
Metal Gear Solid 4
MGS 4 will be the final game in the series and the last game for Hideo Kojima. All the story lines, mysteries etc will be revealed. Kojima presented real-time footage of the game, which revolves around terminating Liquid Solid. MGS will release world wide simultaneously early 2008. A live demo will be unveiled next week in Tokyo.
PlayStation 3 First Party Games
- Ratchet and Clank Future: Tools of Destruction
- Folklore
- Heavenly Sword
- NBA 2008
- LittleBigPlanet
- Uncharted: Drake’s Fortune
- inFamous
- Gran Turismo 5 Prologue
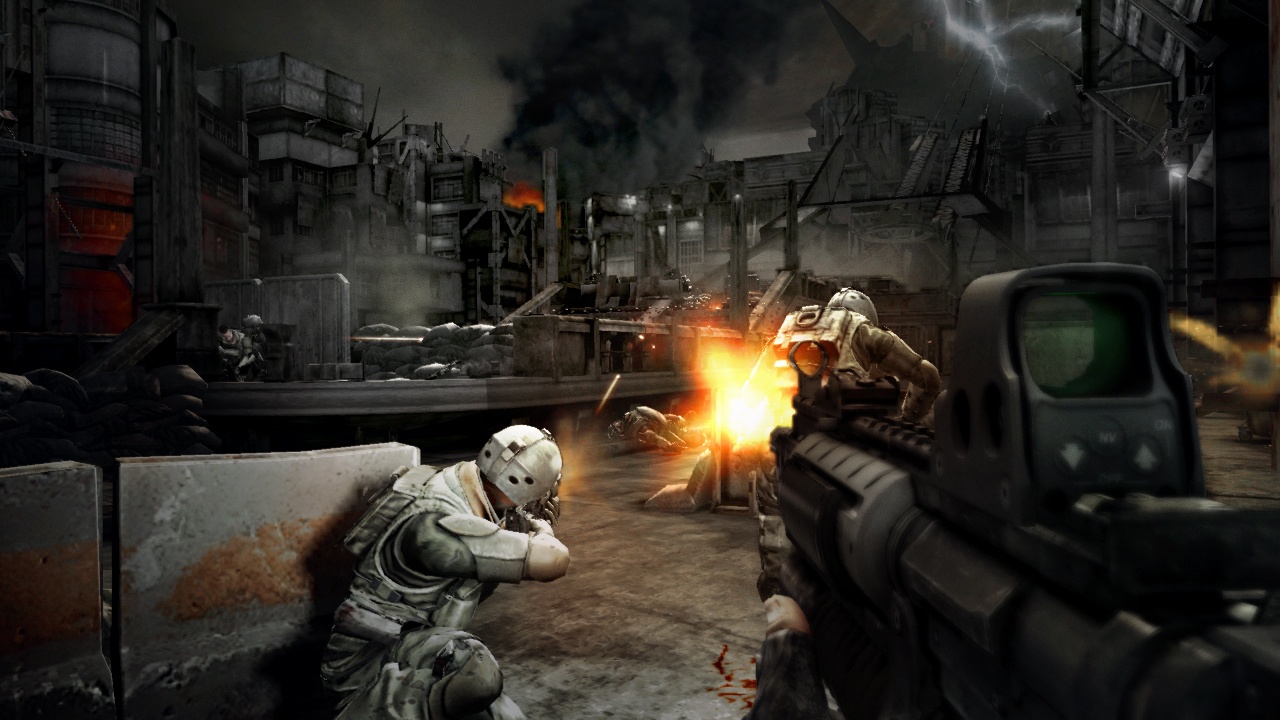
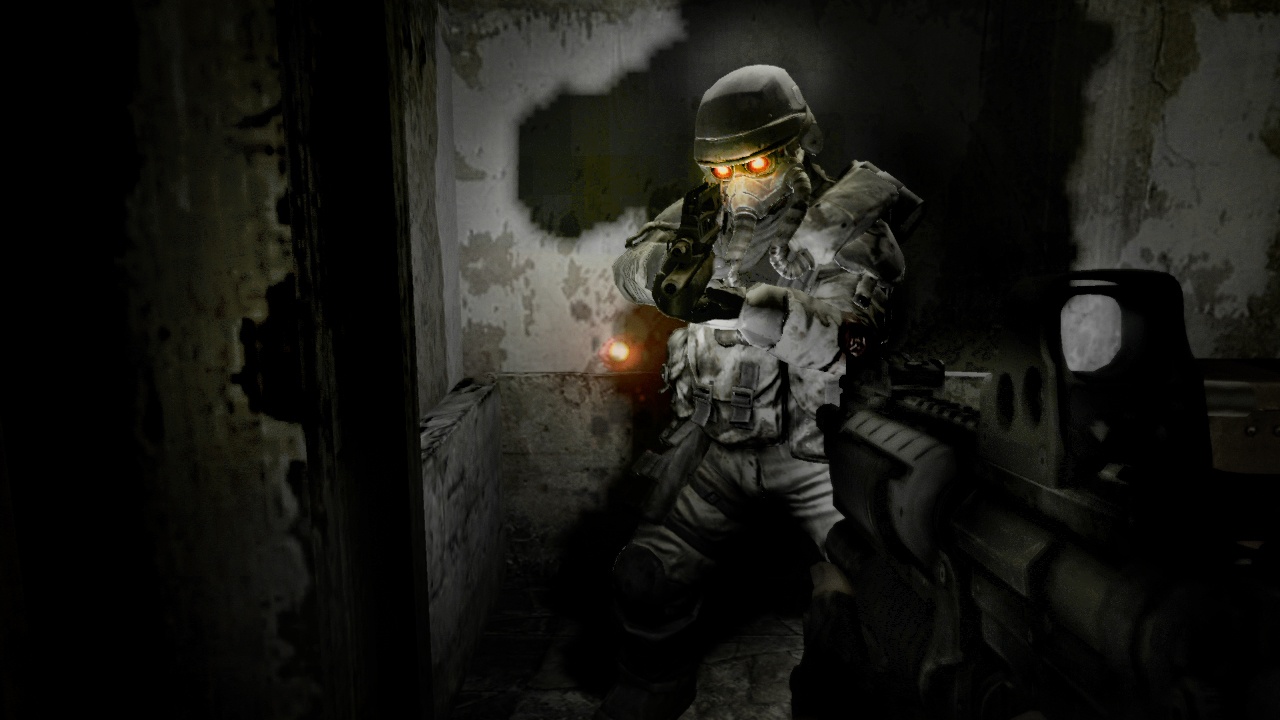
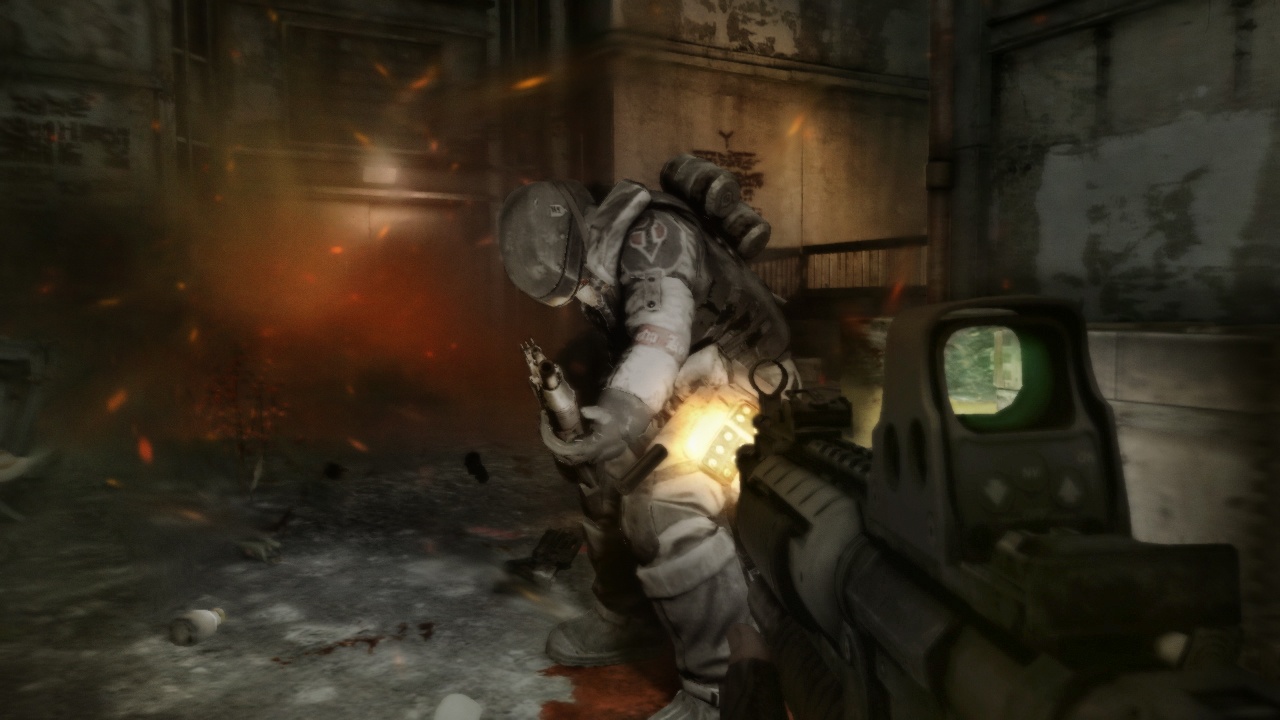
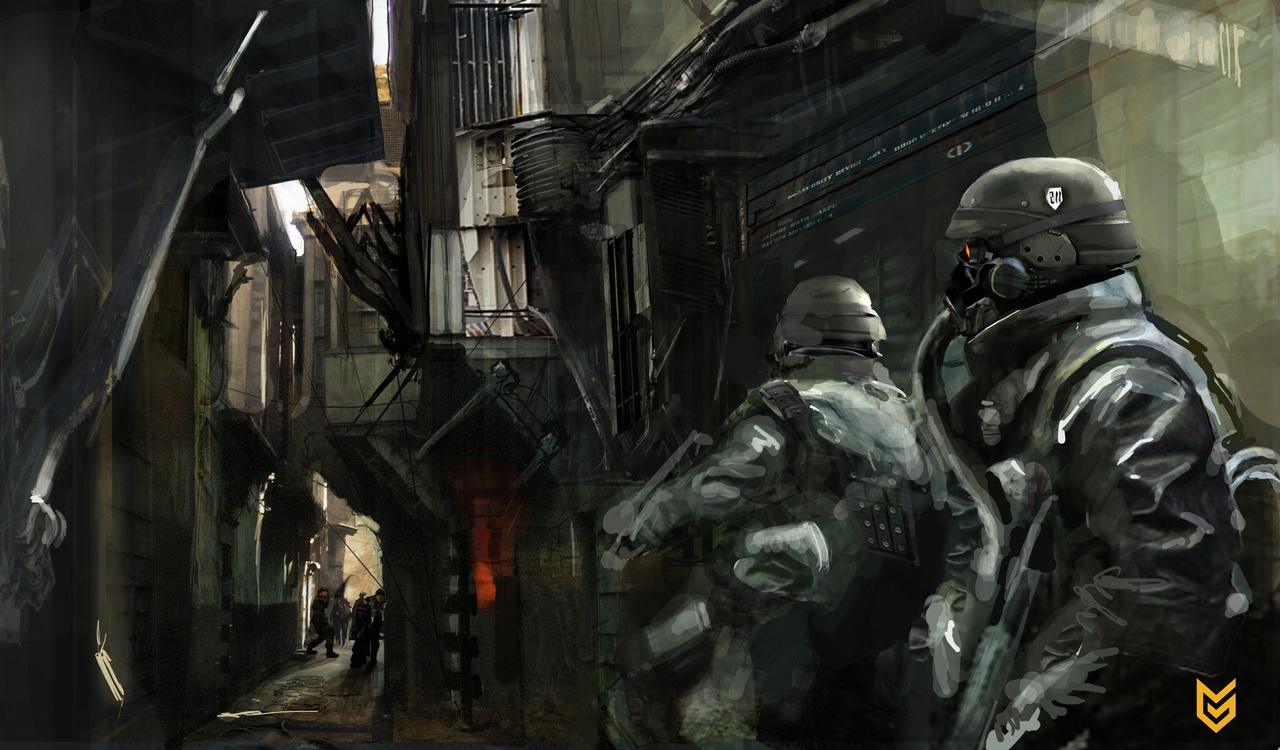
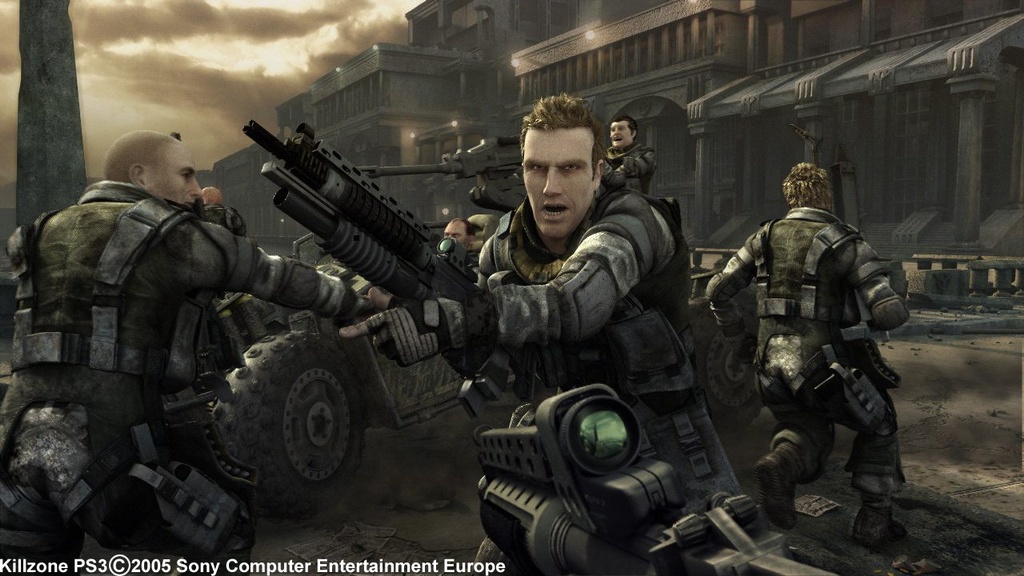
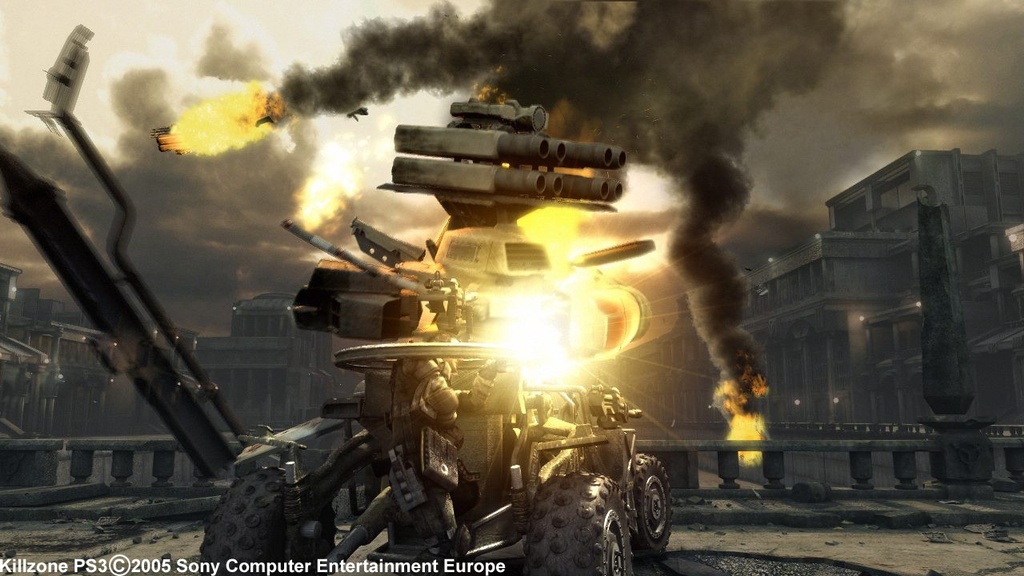
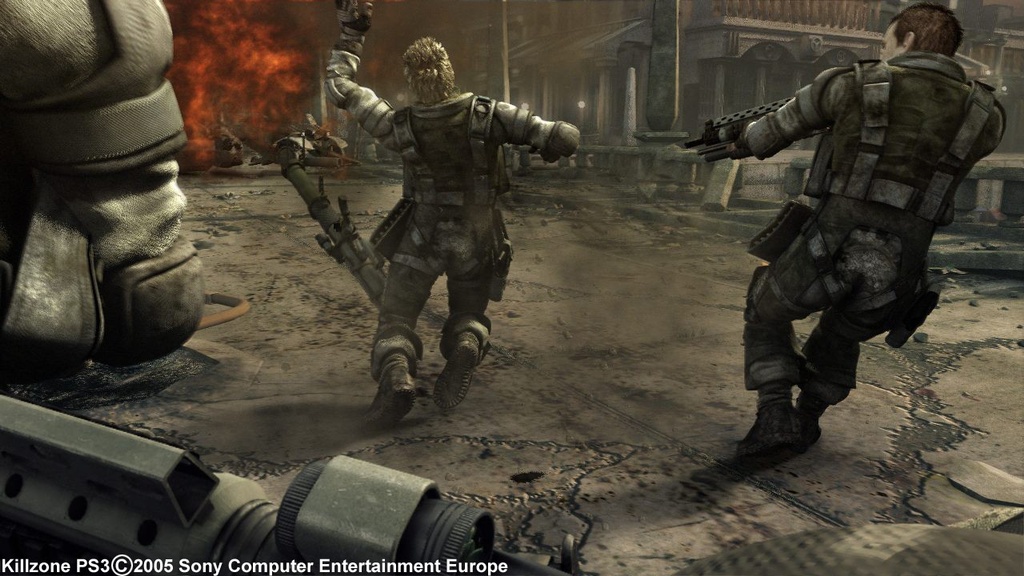
Killzone 2
A new gamplay trailer of Killzone 2 was unveiled just before ending the press conference.