The AVerMedia C281 Game Capture HD device uses a component connection (Y-Pb-Pr) to record gameplay and provide a passthrough connection to a TV, as such, it’s incompatible with the PS4, which uses HDMI only. However, it is possible to convert the HDMI signal from the PS4 to work with AVerMedia C281.
Most other game capture devices (Elgato, Hauppauge HD PVR 2 Gaming Edition, Roxio Game Capture, etc.) use HDMI input and output connections so the PS4 is directly compatible, but the signal is encrypted with HDCP (High-bandwidth Digital Content Protection), so that footage cannot be directly recorded until Sony release a firmware update that decrypts the signal.
Sony has already said that it will allow gameplay footage to be recorded, but will be added in a future update. In the mean time, there is a way to use these devices using a special cable that decrypts the HDCP signal.
Here is how I got the AVerMedia C281 Game Capture HD to work with my PS4 console.
Equipment:
- PS4 console
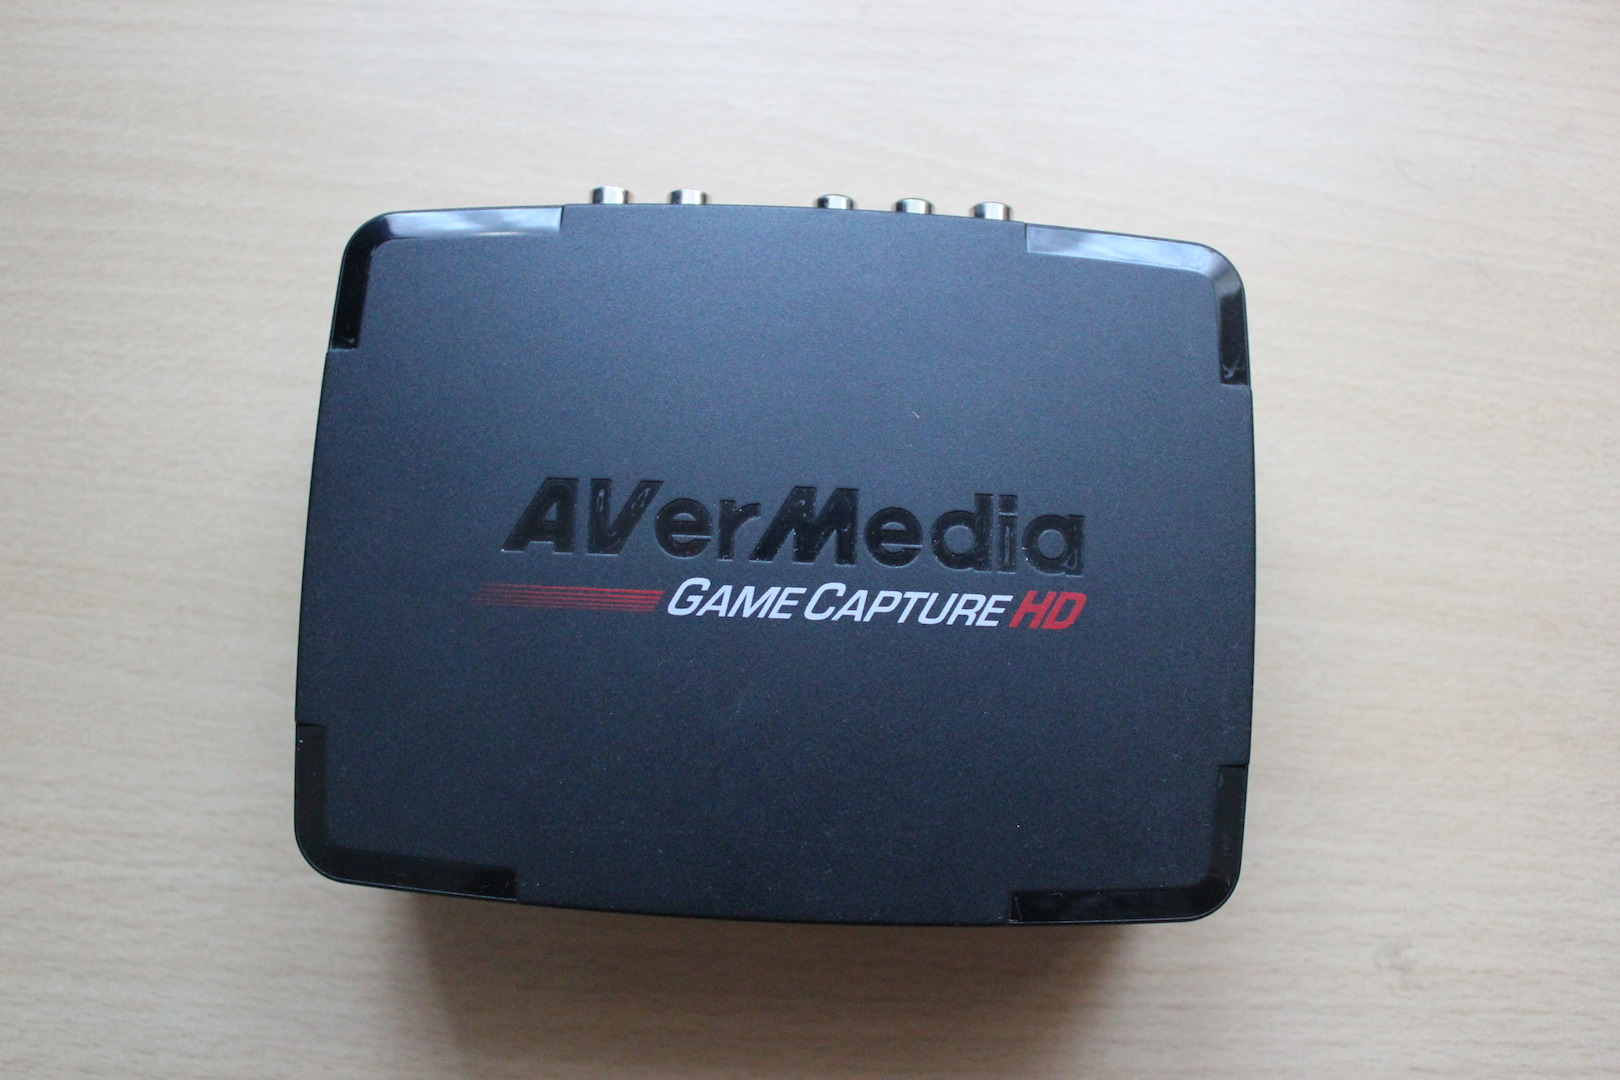
- AVerMedia C281 Game Capture HD with cables and power supply
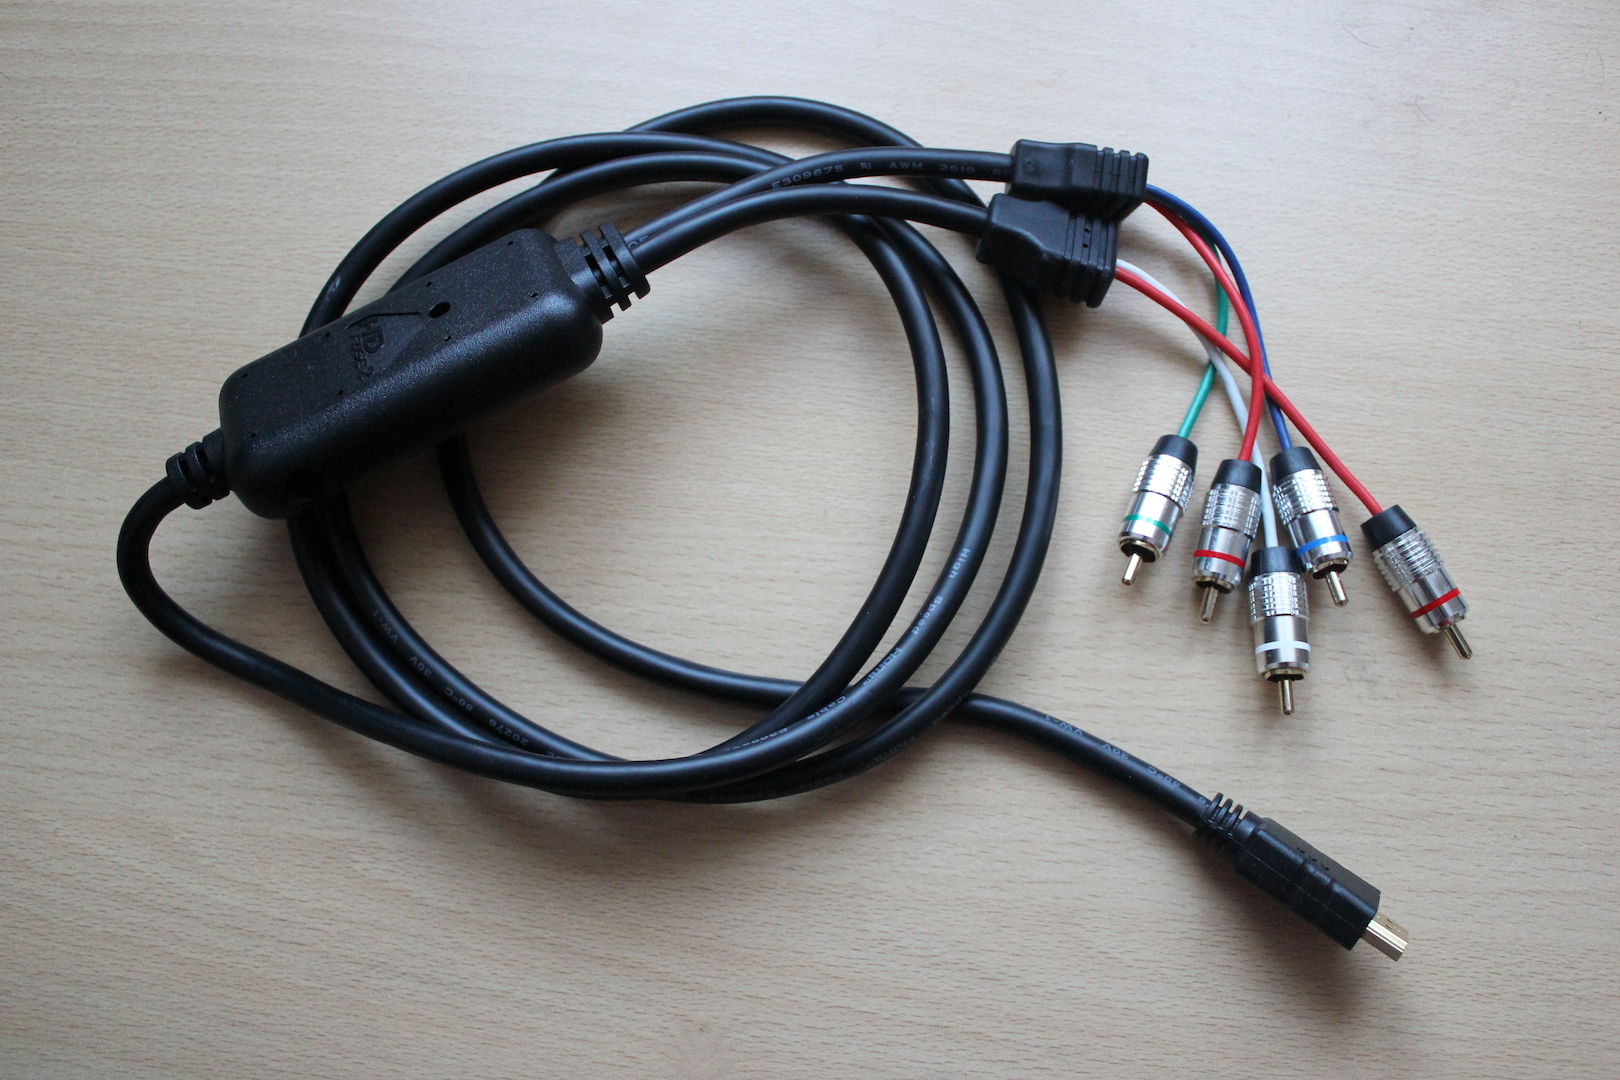
- HDFury Gamer 2 (Component) with power supply (other similar cables can be used)
- HDTV with component (Y-Pb-Pr) connection
The Setup:
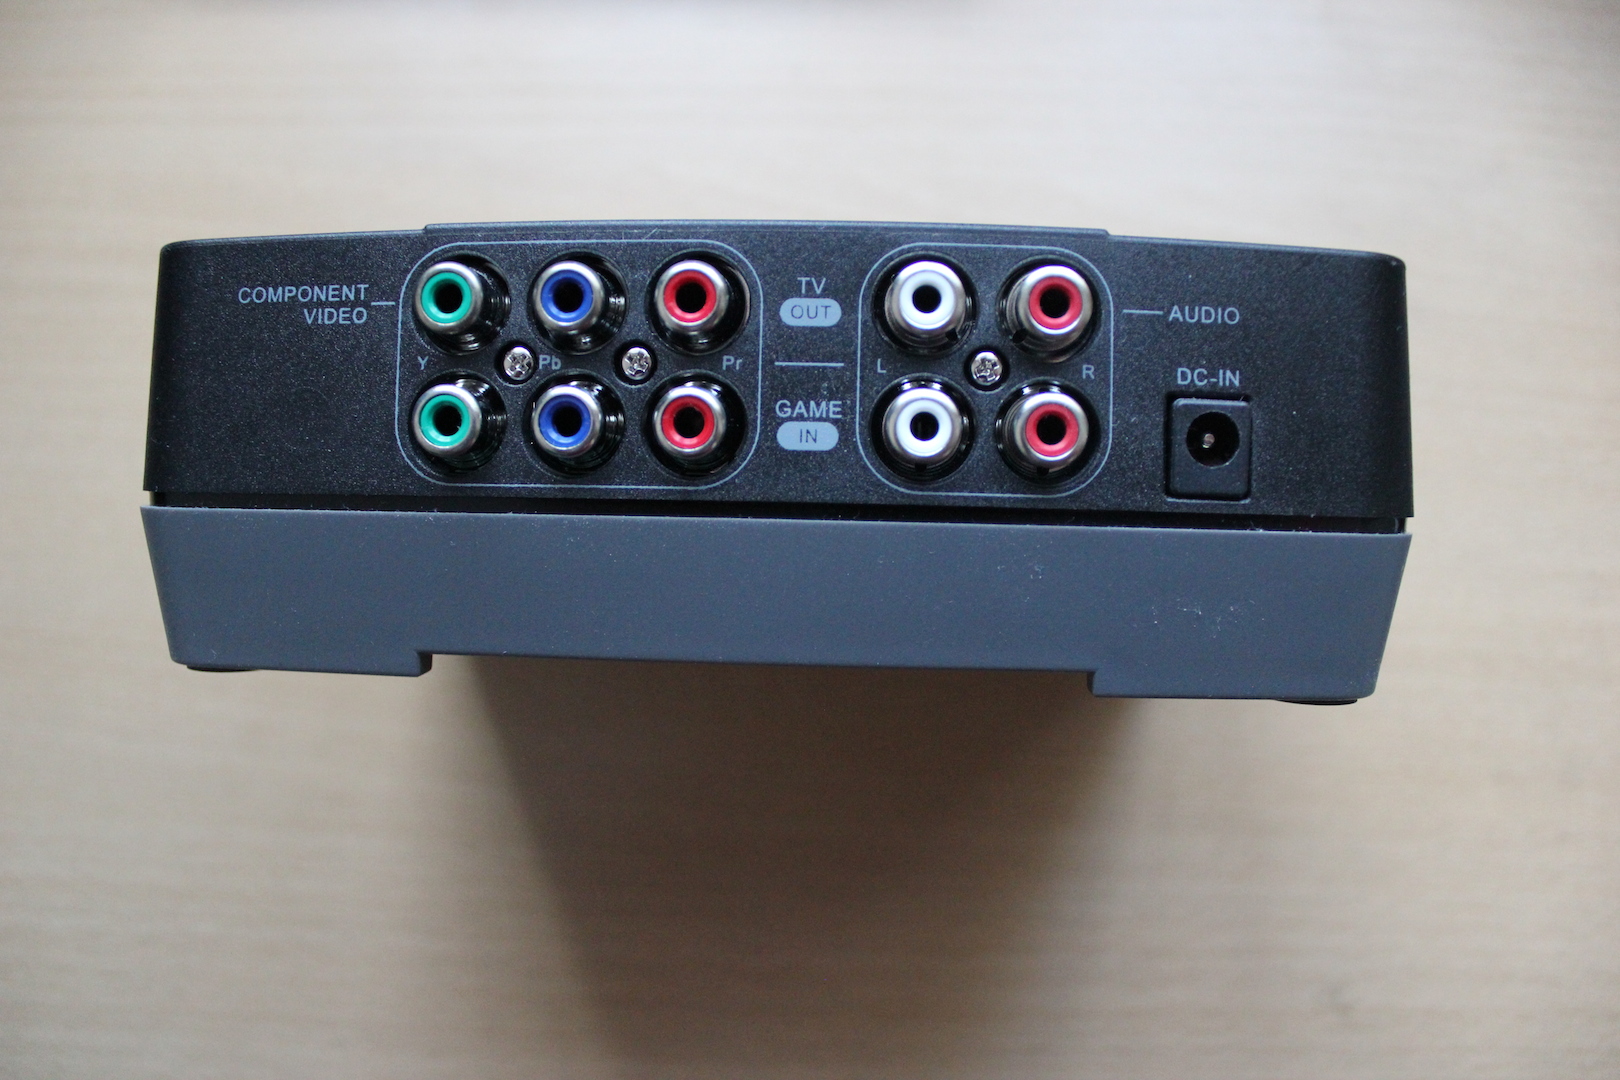
Instead of using all the component cables that come with the AVerMedia C281, you need to replace the 3-phono component cable (with PS3/Xbox 360/Wii connection) with the HDFury cable and connect it to the PS4. The five phono ends should be connected to the bottom of the AVerMedia box.
The other 3-phono to 3-phono video and 2-phono to 2-photo audio cables that came with the AVerMedia can be used as normal to connect to your TV to the AVerMedia C281, connected to the top five ports in the correct order.
If you haven’t already, connect the power supply to the AVerMedia C281, and the power supply to the HDFury Gamer 2 cable. The power supply will be needed for the HDFury Gamer 2 in order to give the cable enough power to convert the PS4’s HDCP signal.
Getting it to Work:
Power on your TV and PS4 and make sure you’re able to see the PS4’s Dynamic Menu on the TV. At this point, the HDFury should have a solid blue LED indicating that the device is powered on and working, and the AVerMedia C218 is just passing the signal through to the TV.
If all works, power on the AVerMedia C218 and give it a moment to start up and show the “Welcome” dialog. If at this point the picture disappears, you may need to turn down the PS4’s resolution to 1080i or lower to get it to work again (or you can update the firmware to support 1080p resolution). If the picture appears normal, you’re all setup and ready to record gameplay.
Providing you have a internal HDD installed in the AVerMedia C281 or have a USB Drive connected, you’re ready to record gameplay and Dynamic Menu footage. Recording the latter isn’t supported with the PS4’s built-in video recording / uploading feature.
Example Videos:
I’ve been using the above setup to record most of the PS4 videos available on our YouTube channel. Or see the Internet Connection tutorial we recorded below:

With a bit of video editing (we like to use iMovie on Mac OS X) and a bit of work, you can create cool videos to share gameplay, or record tutorial videos like the one we created below on using the Android PlayStation App: