How to Create a Japanese PlayStation Network Account
Niraj Shah
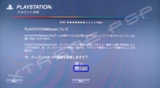
Login as a existing user and create a new account, i.e “JPSN”,
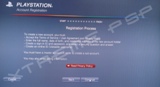
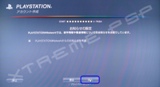
Login as the new user and click on “Sign Up for PLAYSTATION Network” under the Friends menu on the XMB.
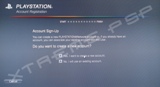
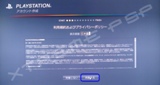
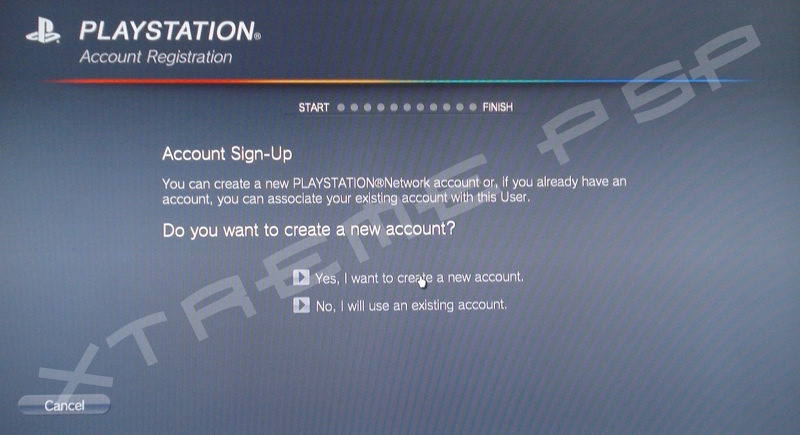
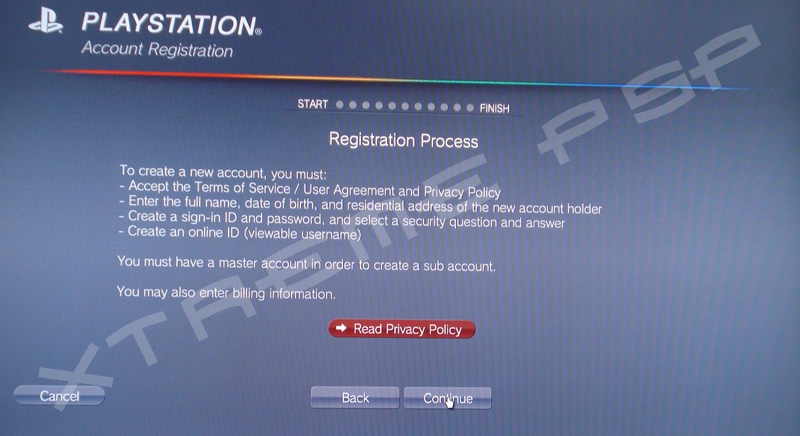
On the Account Sign-up screen, click on “Yes, I want to create a new account.” Then click “Continue” to begin the registration.
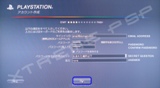
Under Country/Region of Resisdence, select Japan and leave the Language as the default option. Enter your date of birth. If you are under 18, you will not be able to create a master account.
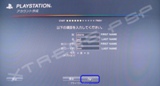
On the following screen, select the top option to create a master account.
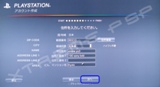
On the Terms and Conditions screen, click on the right button to accept.
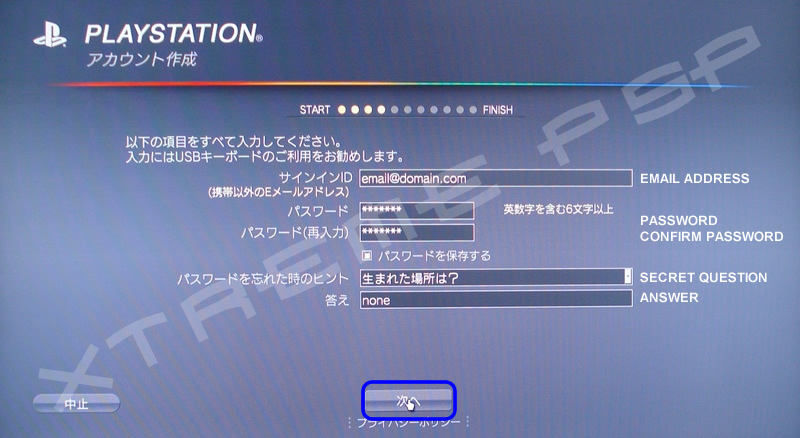
Enter your email address in the first field, followed with your desired password in the next two fields. The dropdown option is for a security question. We recommend leaving the default option and entering something you can remember in the field below. Once done, click on the button to continue.
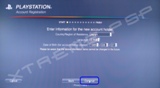
On the next screen, you need to enter your online ID. Then click on the right button to continue.
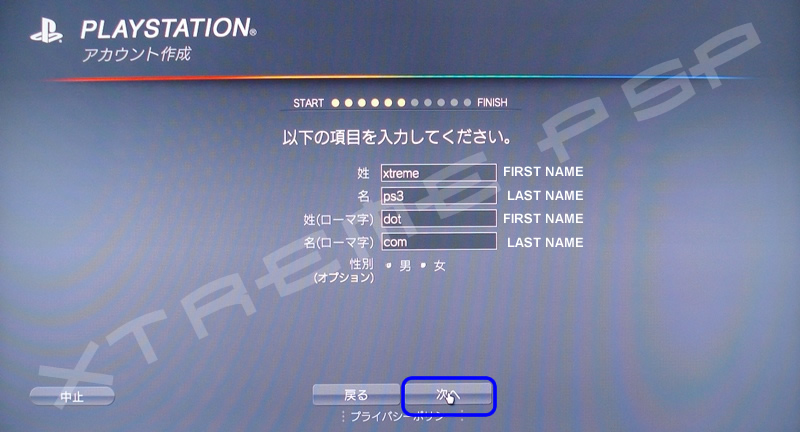
On the following screen, enter your First Name, Last Name and your First Name and Last Name again on the two fields after. Select the Left radio button for Male and the right one for Female.
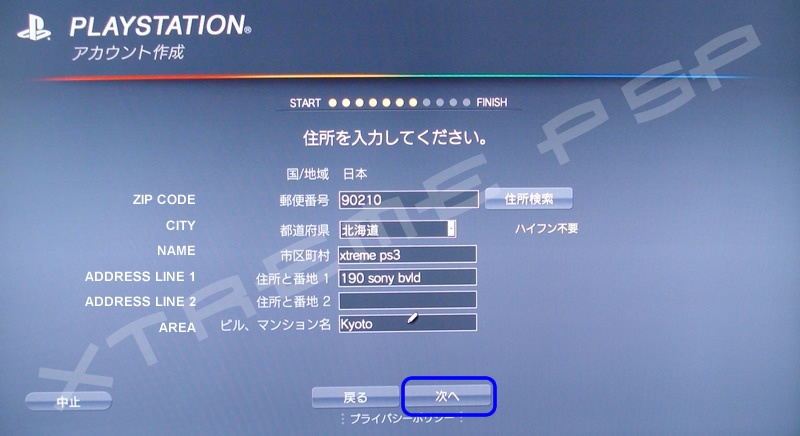
The next screen is for your address. The first field is your ZIP code, use 5 numbers. The drop down option if for city, here, you may select any. The next field is for your name again followed by the first line of your address. You can leave the next field blank if you wish. The last option is for the area. Once finished, click on the right button to continue.
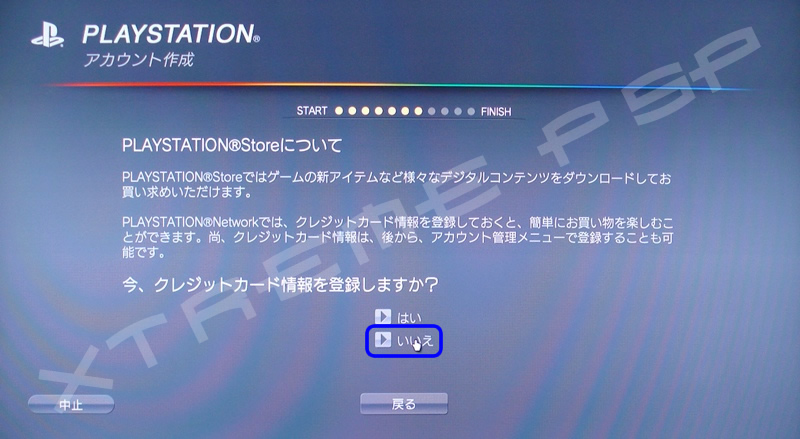
On the following screen, choose the second option to continue with registration. The first option is to add funds into your account.
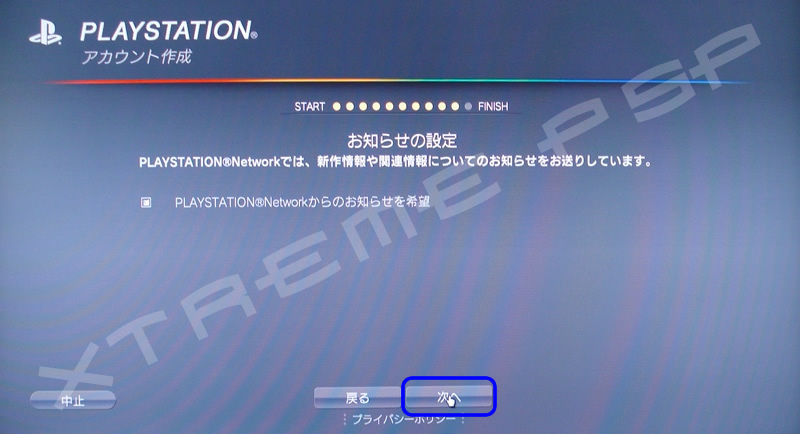
The next screen askes if you are interested in receiving the PlayStation Network Newsletter. Click on the right button to continue.
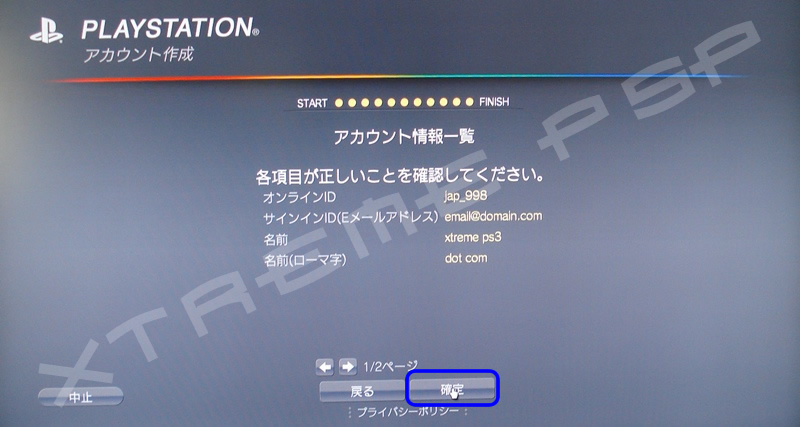
The following two screens are for you to review your account information. If you are happy with the details, click on the right button to continue.
After confirming your login information, choose an avatar on the next screen. Then click on the first option to continue.
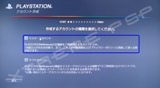
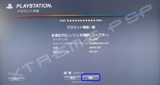
You can cancel the next screen by clicking on the button on the button of the page to the far left.